If you’re a Brother MFC-L5702DW XML Paper user, you know how important it is to have a reliable and up-to-date driver. Outdated or incorrect drivers can lead to problems with printing quality and performance.
This blog post will show you how to update your Brother MFC-L5702DW XML Paper Driver and get the most out of your Printer. Keep reading to learn more.
How to Automatically Install Brother MFC-L5702DW XML Paper Driver with DriverFix:
DriverFix is a software tool that can automatically detect and install the necessary drivers for your Brother MFC-L5702DW XML Paper.
To use DriverFix, you must download and install the software on your computer. Once installed, you can launch the program and follow the on-screen instructions to scan for missing or outdated drivers.
If the Brother MFC-L5702DW XML Paper Driver is not installed on your system, DriverFix will identify it as a missing driver and provide you with the option to download and install it. The installation process is automated, so you don’t have to search for and install the driver manually. With DriverFix, you can easily and quickly get your Brother MFC-L5702DW XML Paper up and running without hassle.
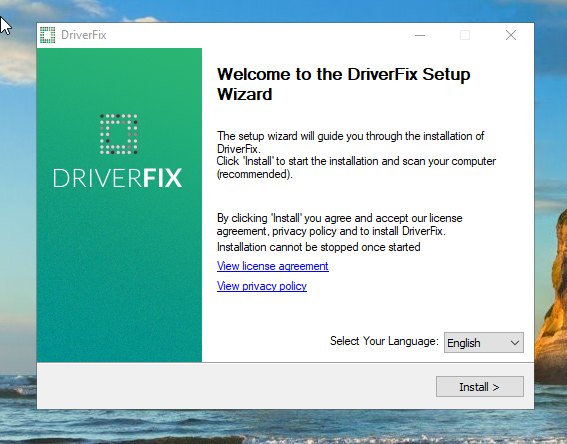
- Download DriverFix:
- Run the downloaded installer and follow the prompts to install DriverFix on your computer.
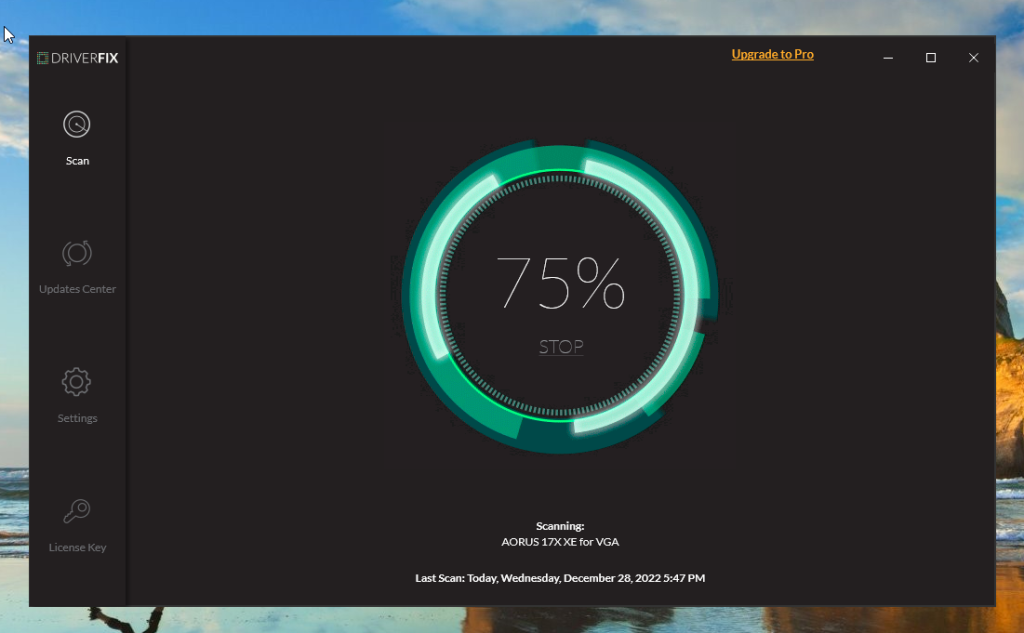
- Once DriverFix is installed, launch the software and click on the “Scan” button to scan your system for outdated or missing drivers.
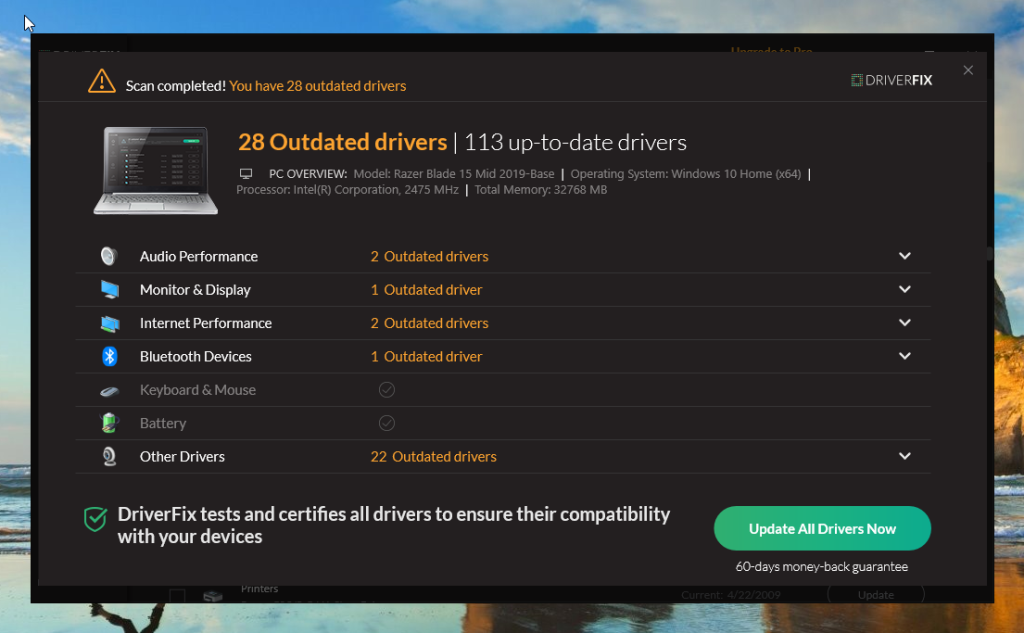
- After the scan is complete, DriverFix will display a list of drivers that need to be updated.
- Find the Brother MFC-L5702DW XML Paper Driver in the list and click on the “Update All Drivers Now” button.
- DriverFix will now download and install the latest version of the Brother MFC-L5702DW XML Paper Driver on your computer.
- Once the installation is complete, restart your computer to apply the changes.
- That’s it! You should now have the Brother MFC-L5702DW XML Paper Driver installed and working properly on your computer.
How to Manually Install Brother MFC-L5702DW XML Paper Driver with Windows Update
Installing the Brother MFC-L5702DW XML Paper Driver with Windows Update is a simple process that can be done directly from your computer’s operating system.
To begin, open the Start menu and search for “Windows Update.” Click on the “Check for updates” button to initiate a scan for available updates.
If the Brother MFC-L5702DW XML Paper Driver is not already installed on your system, it may be listed as an optional update. Simply select the driver from the list of available updates and click the “Install” button to begin the installation process.
The driver will be downloaded and installed automatically, and you may be prompted to restart your computer to complete the installation. Once the installation is finished, your Brother MFC-L5702DW XML Paper should be ready.
Remember that this method may not work if the driver is unavailable through Windows Update or your system is not connected to the internet. In such cases, you may need to install the driver manually by downloading it from the Brother website or using a third-party driver installation tool.
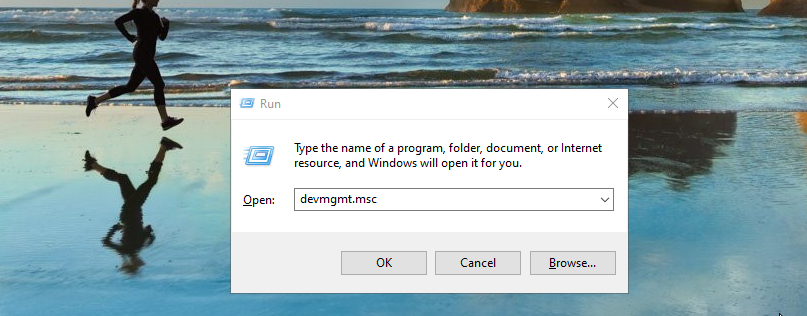
- Press the Windows key + R on your keyboard to open the Run dialog box.
- Type “devmgmt.msc” into the Run dialog box, and press Enter to open the Device Manager.
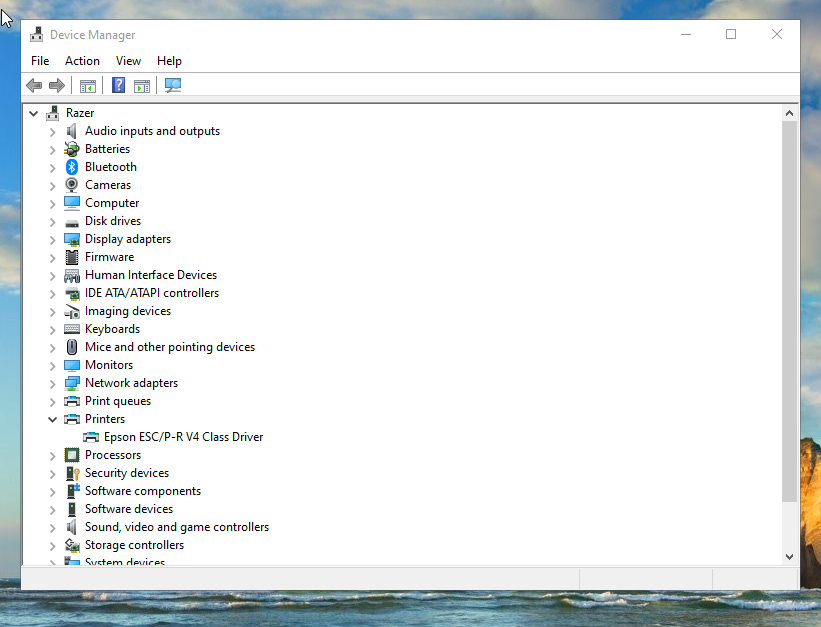
- In the Device Manager, find the Brother MFC-L5702DW XML Paper device under the “Printer” or “Other devices” section.
- Right-click on the device and select “Update driver” from the context menu.
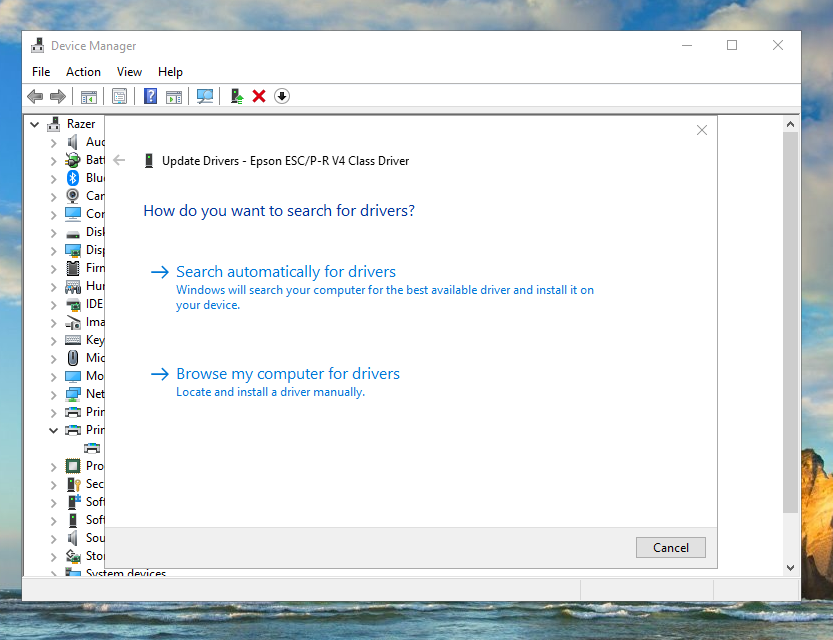
- In the Update Driver Software window, select “Search automatically for updated driver software.”
- Windows will now search online for the latest version of the Brother MFC-L5702DW XML Paper Driver and install it on your computer.
How to Manually Install Brother MFC-L5702DW XML Paper Driver with Device Manager
The Device Manager is a built-in tool in Windows that allows you to manage the hardware devices connected to your computer. To install the Brother MFC-L5702DW XML Paper Driver using the Device Manager, follow these steps:
- Press the Windows key + R on your keyboard to open the Run dialog box.
- Type “devmgmt.msc” into the Run dialog box, and press Enter to open the Device Manager.
- In the Device Manager, find the Brother MFC-L5702DW XML Paper device under the “Printer” or “Other devices” section.
- Right-click on the device and select “Update driver” from the context menu.
- Select “Browse my computer for driver software” in the Update Driver Software window.
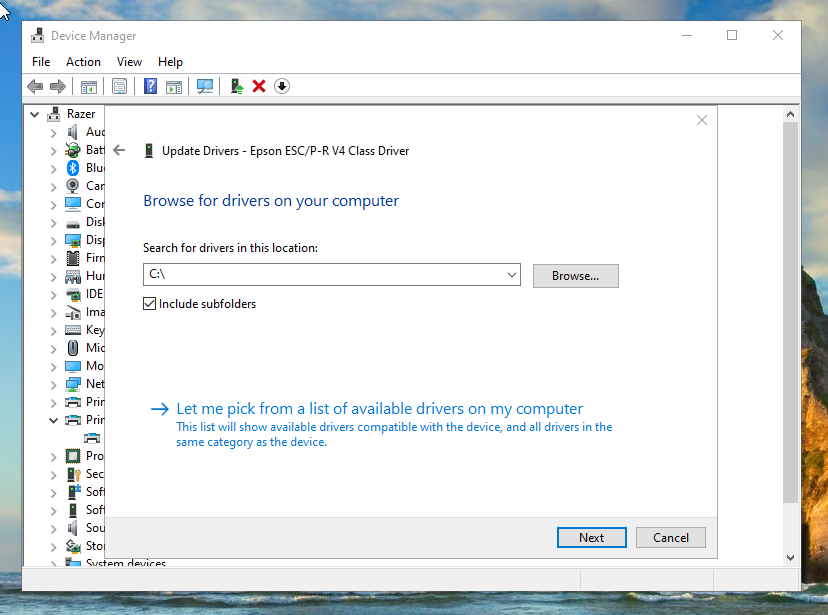
- Click on the “Browse” button and navigate to the location where you have saved the Brother MFC-L5702DW XML Paper Driver file on your computer.
- Select the driver file and click “Open” to select it.
- Click “Next” to begin the installation process.
- Follow the prompts to install the Brother MFC-L5702DW XML Paper Driver on your computer.
Three Options for Installing the Brother MFC-L5702DW XML Paper Driver
In conclusion, there are multiple ways to install the Brother MFC-L5702DW XML Paper Driver on your computer, including using DriverFix, Windows Update, and the Device Manager. Each method has advantages and disadvantages; the best option depends on your specific needs and circumstances.
DriverFix is a convenient option for automatically detecting and installing missing drivers. At the same time, Windows Update can be a quick and easy way to get the latest drivers for your Printer. If you have already downloaded the driver to your computer or have the driver installation disc, using the Device Manager can be a simple and effective way to install the driver.
Regardless of which method you choose, it is important to ensure that you have the correct driver installed to get the most out of your Brother MFC-L5702DW XML Paper.