
If you own a Canon iP1700 Printer, you know that having the right driver is essential for optimal performance. In this article, we’ll provide a guide on downloading and installing the Canon iP1700 Driver, as well as troubleshoot common issues that may arise.
How to Automatically Install Canon iP1700 Driver with DriverFix:
Using DriverFix to download and install the Canon iP1700 Driver is a great way to save time and effort. The program handles all the heavy lifting for you, so you don’t have to worry about manually searching for and downloading the driver. Plus, it’s fast and efficient, so you can get your printer up and running in no time.
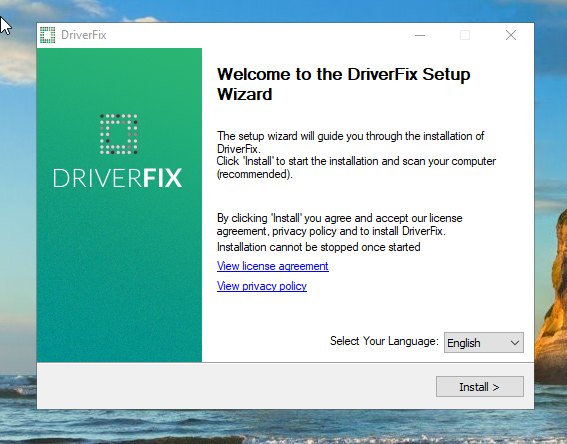
- Download DriverFix:
- Run the downloaded installer and follow the prompts to install DriverFix on your computer.
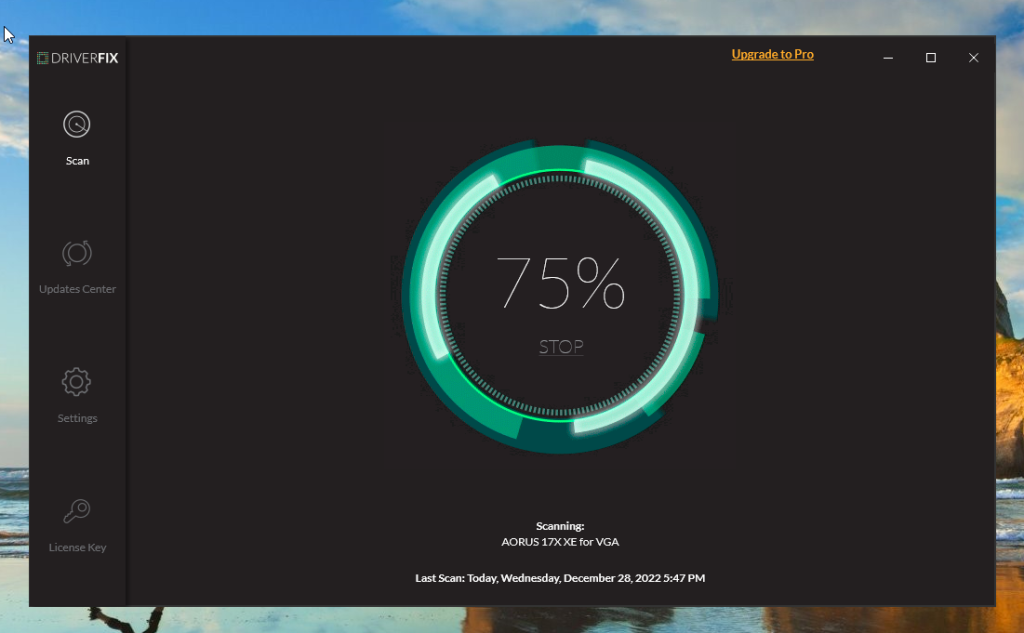
- Once DriverFix is installed, launch the software and click on the “Scan” button to scan your system for outdated or missing drivers.
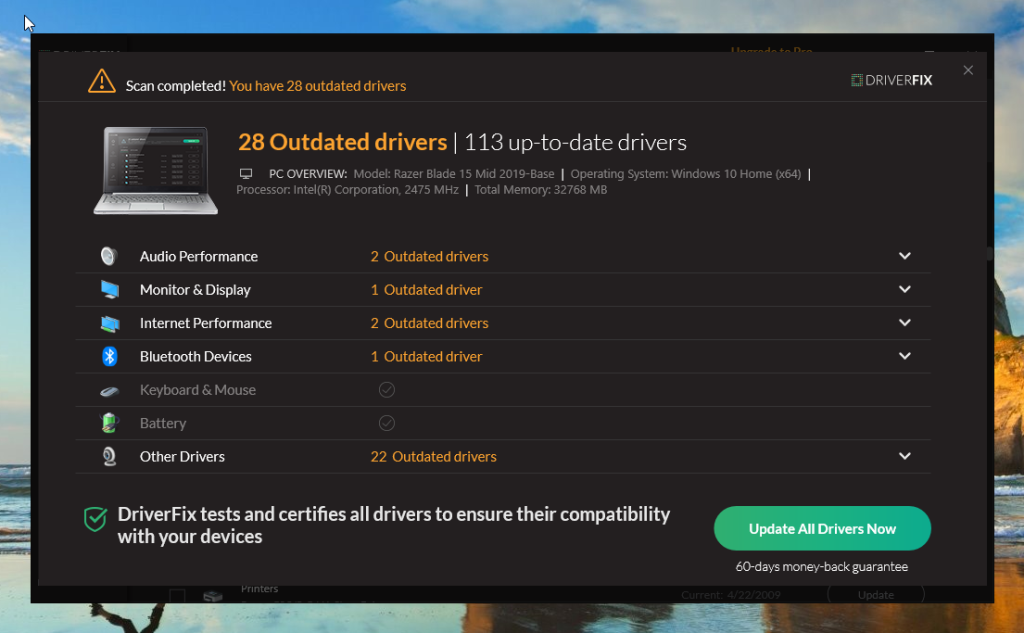
- After the scan is complete, DriverFix will display a list of drivers that need to be updated.
- Find the Canon iP1700 Driver in the list and click on the “Update All Drivers Now” button.
- DriverFix will now download and install the latest version of the Canon iP1700 Driver on your computer.
- Once the installation is complete, restart your computer to apply the changes.
- That’s it! You should now have the Canon iP1700 Driver installed and working properly on your computer.
How to Manually Install Canon iP1700 Driver with Windows Update
Windows Update is a built-in feature of the Windows operating system that allows you to download and install the latest drivers for your devices easily. To use it to install the Canon iP1700 Driver, simply open the Start menu, search for ‘Windows Update’, and click on the relevant result. From there, you can follow the on-screen prompts to check for updates and install the Canon iP1700 Driver.
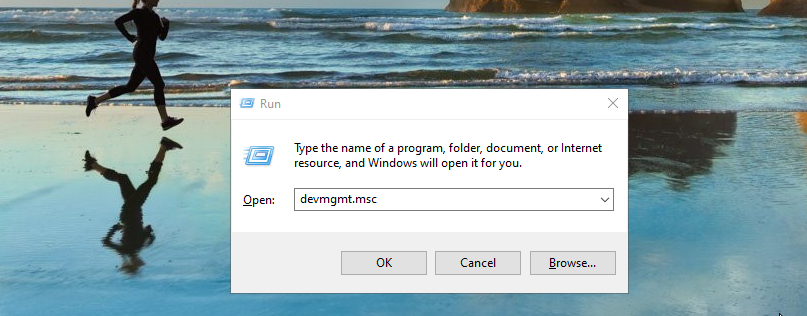
- Press the Windows key + R on your keyboard to open the Run dialog box.
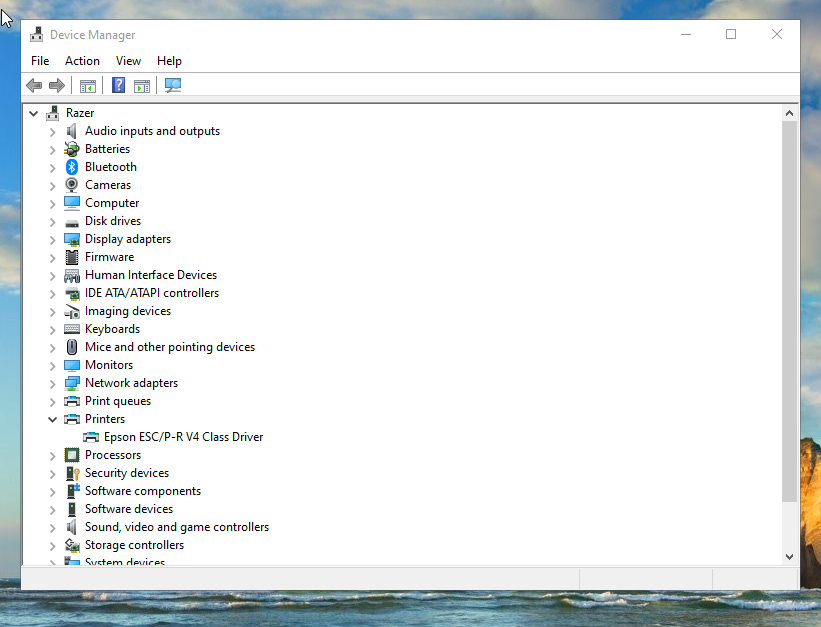
- Type “devmgmt.msc” into the Run dialog box, and press Enter to open the Device Manager.
- In the Device Manager, find the Canon iP1700 Printer device under the “Printer” or “Other devices” section.
- Right-click on the device and select “Update driver” from the context menu.
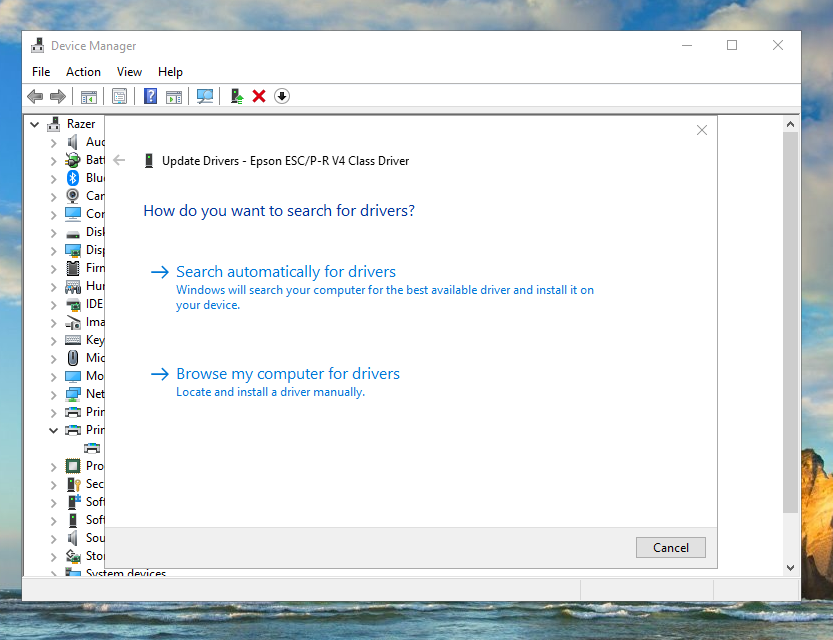
- In the Update Driver Software window, select “Search automatically for updated driver software.”
- Windows will now search online for the latest version of the Canon iP1700 Driver and install it on your computer.
How to Manually Install Canon iP1700 Driver with Device Manager
Device Manager is a built-in utility in Windows that allows you to manage the hardware devices connected to your system. It’s a useful tool for installing drivers, including the Canon iP1700 Driver. To use it, simply open Device Manager and locate the printer in the list of devices. From there, you can update the driver by following the on-screen prompts.
- Press the Windows key + R on your keyboard to open the Run dialog box.
- Type “devmgmt.msc” into the Run dialog box, and press Enter to open the Device Manager.
- In the Device Manager, find the Brother MFC-240C Printer device under the “Printer” or “Other devices” section.
- Right-click on the device and select “Update driver” from the context menu.
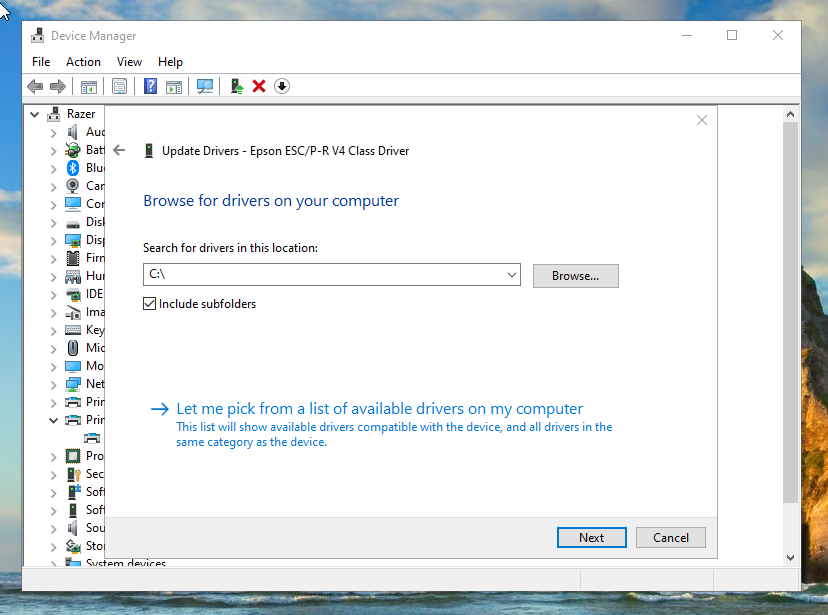
- Select “Browse my computer for driver software” in the Update Driver Software window.
- Click on the “Browse” button and navigate to the location where you have saved the Brother MFC-240C Printer Driver file on your computer.
- Select the driver file and click “Open” to select it.
- Click “Next” to begin the installation process.
- Follow the prompts to install the Brother MFC-240C Printer Driver on your computer.
In Conclusion: The Importance of the Canon iP1700 Driver
To wrap up, the Canon iP1700 Driver plays a critical role in the performance of your printer.