Introduction
Taking a screenshot is a useful skill to have, whether you want to capture an image of something you see on your screen or share a specific part of your screen with someone else. If you use a Google Chromebook, you may wonder how to take a screenshot. This article will explain the different methods you can use to capture a screenshot on your Chromebook.
If you are having a hard time taking a screenshot, then don’t worry. We will review every step and option you have to take screenshots on your Chromebook. And if that doesn’t work for you, we will have 3 other programs you can install to help out.
What is a Chromebook?
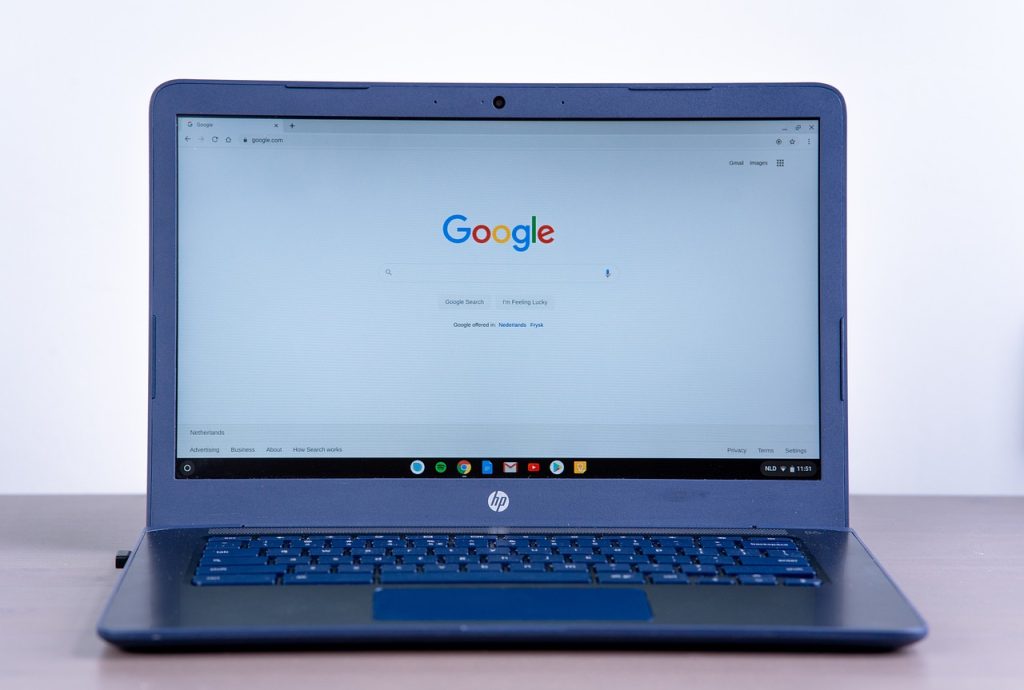
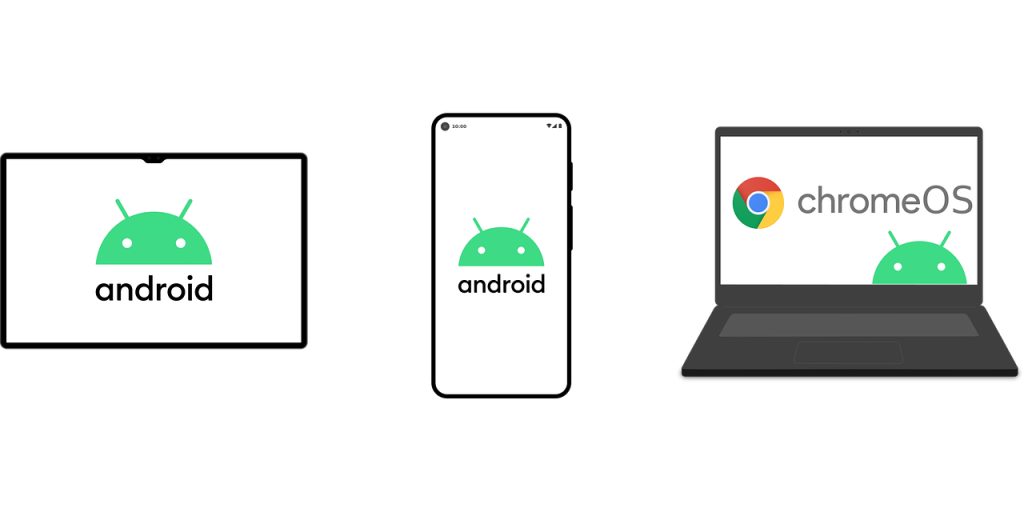
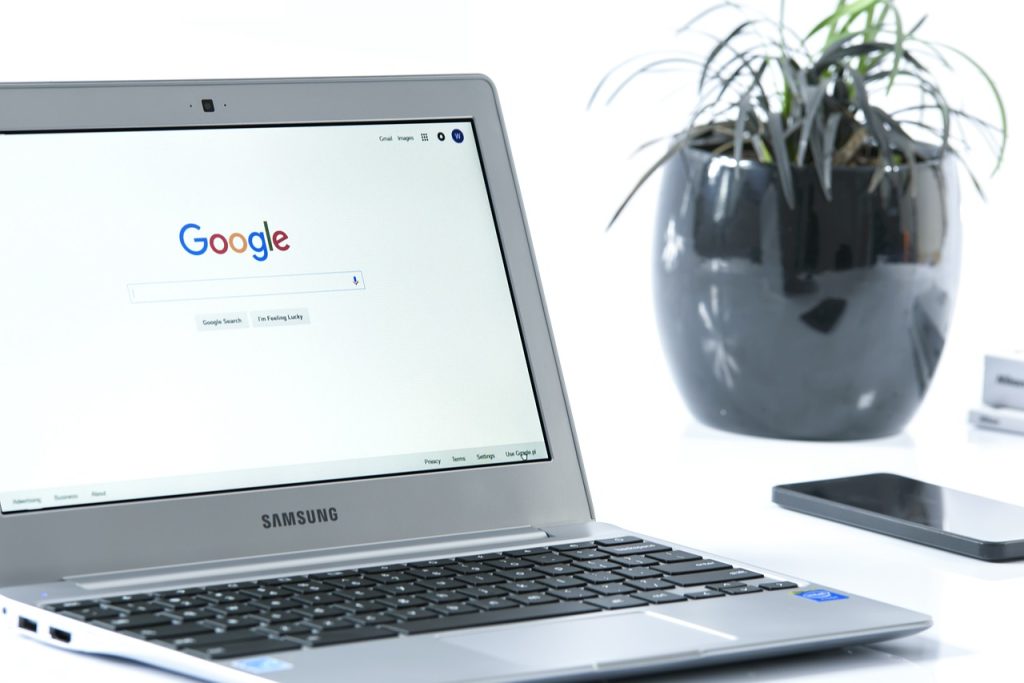
A Chromebook is a type of laptop that runs on the Google Chrome operating system. It’s designed to be lightweight and easy to use, making it ideal for students, business travelers, and people who don’t need all the bells and whistles of a regular PC laptop. Chromebooks are affordable, secure, and feature long battery life, giving you more time to focus on your tasks without worrying about charging up.
Plus they’re cloud-based so you can access your documents or apps from any device with an internet connection. So if you’re looking for an efficient way to stay productive while on the go, a Chromebook might be just what you need.
How to Take a Screenshot on Chromebook
Taking a screenshot on a Chromebook is incredibly simple and fast. Whether you need to capture something quickly in your browser or document an issue, a screenshot can be taken with just a few keystrokes. Here’s how to take screenshots on any Chromebook.

To begin, the first thing to do is open the window or application that you’d like to take a snapshot of. Once it is open and visible, press the “Ctrl” and “Show Windows” keys simultaneously. This will capture an image of whatever is currently displayed on your screen and save it as an image file in your Downloads folder. If you’d like to make any edits before saving it permanently, select “Edit” from the menu that pops up after taking your screenshot.
Using the Keyboard Shortcut
Using the Keyboard Shortcut is a great way to take a screenshot on your Chromebook quickly. This simple shortcut allows users to capture images of whatever is currently displayed on their device’s screen. By following just a few easy steps, users can efficiently save screenshots from their Chromebooks and share them with friends and family.
To take advantage of this feature, users must first locate the correct keyboard combination for their particular device. On most Chromebooks, this combination is Ctrl + Show Windows Key (this key may also be referred to as ‘F5’). Once the proper keys have been located, simply press them simultaneously, and an image of the current screen will be instantly captured and saved in your device’s Downloads folder.
From there you can easily access it or send it off as an attachment or link.
Using the Stylus Pen
The Stylus Pen has become an increasingly popular tool for those looking to get creative with their Chromebooks. Not only can you use the pen to take notes and draw pictures, but you can also use it to take screenshots of your Chromebook’s display. Taking a screenshot on a Chromebook is surprisingly easy and requires very few steps.
To start, open up the app or page you’d like to capture. Then, press down on the Stylus Pen’s button while simultaneously pressing down on the “Ctrl” and “Window Switcher” keys at the same time. Doing so will automatically capture whatever image is currently displayed in your browser window or app window. The image will be saved directly into your ‘Downloads’ folder as a PNG file titled ‘Screenshot (x).png”.
Taking Partial Screenshots
Partial screenshots are a great way to capture only the most important elements of your Chromebook’s display. Whether you’re trying to show off a cool feature or highlight an interesting concept, being able to take a partial screenshot can help you get the job done quickly and easily. This article will teach you how to take partial screenshots on your Chromebook in just a few simple steps.

Taking partial screenshots on your Chromebook is easy once you know the basics. First, press the CTRL + SHIFT + W keys simultaneously. This will open up an overlay menu where you can select which area of the screen you want to capture. You can use your mouse or trackpad to resize and reposition this selection window until it encompasses exactly what you want in your screenshot. When you have everything just right, simply press enter and voilà!
Editing and Saving Screenshots
Taking screenshots on a Chromebook may seem like a daunting task, but it is actually quite easy. You can capture and save whatever content you find online with just a few simple steps. Whether you want to print out an article for later use or document something important for your records, we’ll show you how to take the perfect screenshot in no time.
3 programs that can help you take a screenshot on your Chromebook
Here are three programs that you can use to take a screenshot on your Chromebook:
- Chrome OS Screenshot Tool: This is a built-in tool in Chrome OS that allows you to take a screenshot of your entire screen, a specific window, or a selected area. To use it, press the “Ctrl” and “Window Switcher” keys simultaneously (or press and hold the stylus button and tap the screen with the stylus), then select the desired capture mode from the options that appear.
- Full Page Screenshot: This Chrome extension allows you to take a full-page screenshot of a webpage. To use it, install the extension from the Chrome Web Store, then click the extension’s icon in the Chrome toolbar and click “Capture.”
- Nimbus Screenshot: This Chrome extension allows you to take screenshots of your entire screen, a specific window, or a selected area. It also includes annotation and blur tools and the ability to save and share your screenshots. To use it, install the extension from the Chrome Web Store, then click the extension’s icon in the Chrome toolbar and select the desired capture mode.
Those are 3 different ways that you can take a screenshot other than the traditional screen capture or screen snipping tools.
Conclusion
In conclusion, taking a screenshot on a Google Chromebook is a simple task that can be accomplished using various methods. Whether you use the “Ctrl” + “Window Switcher” keys, the “Power” + “Volume Down” buttons, or the built-in screenshot tool, you can easily capture a screenshot of your screen and save it for later use. With these methods at your disposal, you can easily capture and share images of your screen.
Taking screenshots is essential for capturing and sharing information on a Chromebook. While the process may seem intimidating at first, it doesn’t have to be. With a few quick steps, users can easily take screenshots of any page they’re viewing while using their Chromebook, ensuring that they can capture any information they need quickly and effortlessly.

